Admin Guide - More
Managing Announcements
Announcements let you broadcast messages to your organization — targeted by branch, role, or both.
Who can access this? Organization Admin, Branch Admin
Announcement List
Go to Announcements from the sidebar to see all announcements.
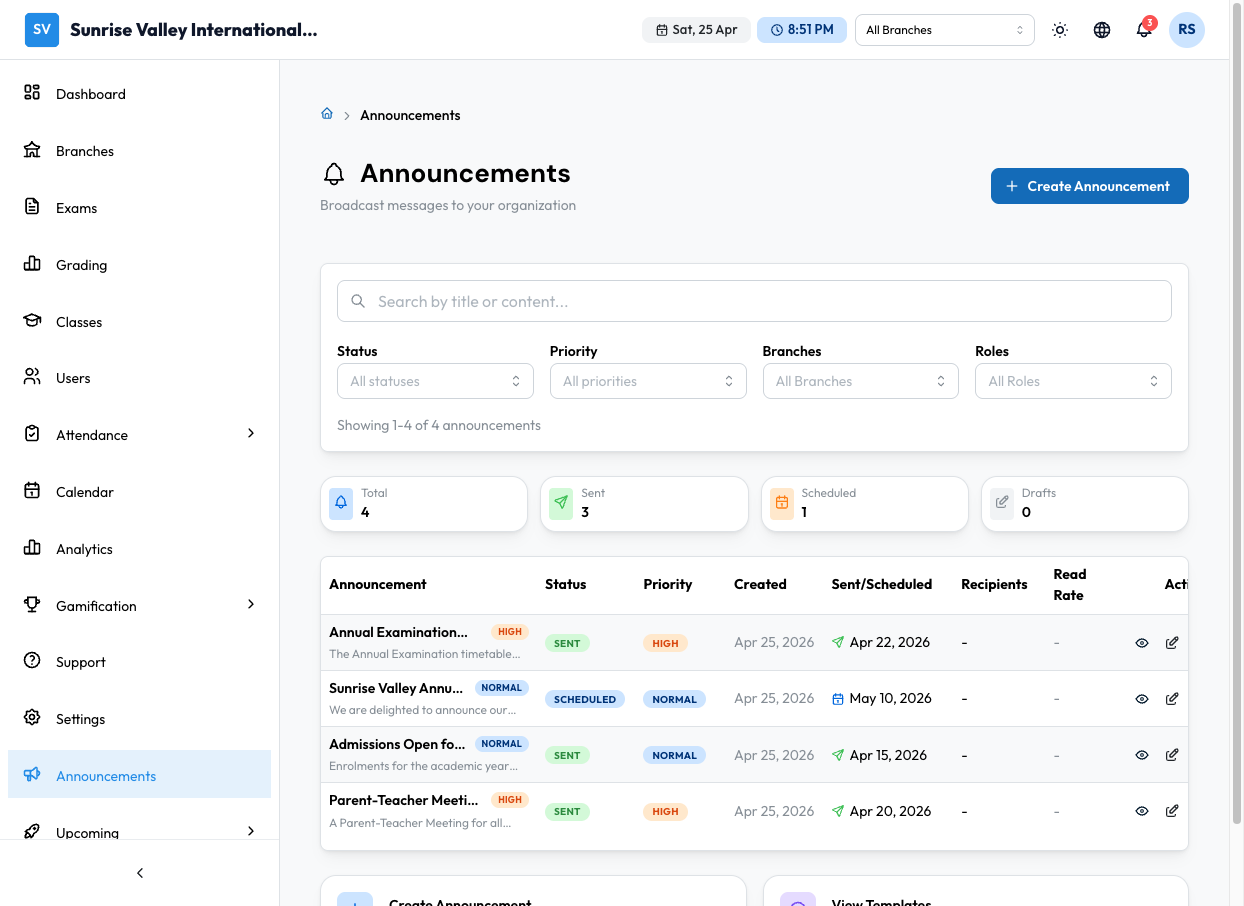
The page shows a feed of announcements with:
- Title and message preview
- Priority badge (high priority shown with colored badge)
- Timestamp (e.g., "9m ago", "Pinned")
- View All link to see full list
Announcements also appear on the admin dashboard in a dedicated widget.
Creating an Announcement
Click Create Announcement to open the creation form.
Content Section
| Field | Required | Description |
|---|---|---|
| Title | Yes | Announcement headline |
| Message | Yes | Full announcement text |
| Priority | Yes | Low, Medium, High, or Urgent. Higher priorities display with colored badges. |
Target Audience
| Field | Required | Description |
|---|---|---|
| Select Branches | No | Choose specific branches, or leave empty for all branches |
| Select Roles | No | Choose specific roles (e.g., only students, only instructors), or "All Users" |
| Estimated Recipients | — | Shown automatically based on your selections |
Delivery & Scheduling
| Field | Required | Description |
|---|---|---|
| Delivery Channels | Yes | In-app notification, Email, or both |
| Schedule for Later | No | Toggle on to send at a specific date/time instead of immediately |
| Date & Time | If scheduled | When to send the announcement |
Actions
- Save Draft — Save without sending
- Send Now — Deliver immediately to all recipients
- Schedule — Queue for delivery at the set date/time (visible when scheduling is enabled)
Announcement Details
Click on an announcement to view its details:
- Priority & Status badges — Color-coded indicators
- Full message content
- Author and creation date
- Timeline — Created, Scheduled (if applicable), Sent timestamps
- Targeting info — Which branches and roles received it
- Delivery stats (for sent announcements):
- Total recipients
- Read count
- Read rate with progress bar (green 70%+, yellow 40-69%, red below 40%)
Actions (Draft only)
- Edit — Modify the announcement
- Copy — Duplicate as a new draft
- Delete — Remove the announcement
Tips
- Use High or Urgent priority sparingly — they appear with colored badges and may trigger push notifications
- Target by role to avoid sending irrelevant information (e.g., exam schedule changes only to instructors and students)
- Use Schedule for time-sensitive announcements (e.g., send exam reminder the evening before)
- Check delivery stats to see if your announcements are being read